
FREE SHIPPING FOR ALL ORDERS OF AED 5000

Top 4 Causes of AC PCB Board Failure

  1. Power Surges and Lightning Strikes Sudden spikes in electricity are the #1 killer of sensitive electronic components. Without a proper surge protector, a high-voltage spike can fry microprocessors and blow fuses instantly.
  2. Voltage Fluctuations If the local power grid is unstable, constant low voltage or minor surges force electronic components to work harder, generating excess heat that slowly degrades the board over time.
  3. Dust, Moisture, and Insects Indoor units are prone to gathering dust and humidity. If moisture or condensation gets onto the circuit board, it can cause short circuits. Small insects like ants also love nesting near warm transformers, leading to fatal electrical bridges.
  4. Component Overheating If a component connected to the board—such as a failing fan motor or compressor contactor—draws too much current, it can overload the PCB relays and cause permanent burn marks.
Top 4 Causes of AC PCB Board Failure

Step-by-Step Diagnostic Process

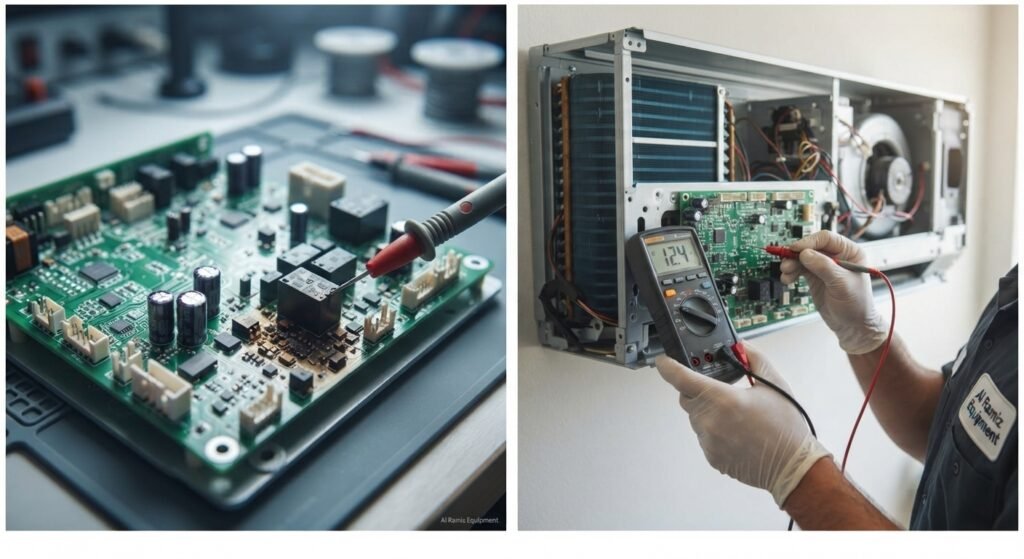
Step 1: Visual Inspection Always cut power to the unit first. Open the panel and look for obvious signs of damage: burnt areas, bulging capacitors, or a distinct chemical burning smell.

Step 2: Check the Fuse Use a multimeter to test the small glass fuse on the board. If there is no continuity, the fuse blew to protect the board (though replacing just the fuse may not fix the root cause if the board is damaged).

Step 3: Test Incoming Power Check with your multimeter to ensure the transformer is supplying the correct low-voltage power (usually 12V or 24V) to the board.

When to Repair vs. Replace

If the board has severe burn marks or a cracked circuit trace, repair is rarely permanent. In these cases, installing a reliable universal AC control board is the fastest way to get the system back up and running.