

Description
Duro Dyne – Premium Quality
HVAC Accessories & Ductwork Solutions
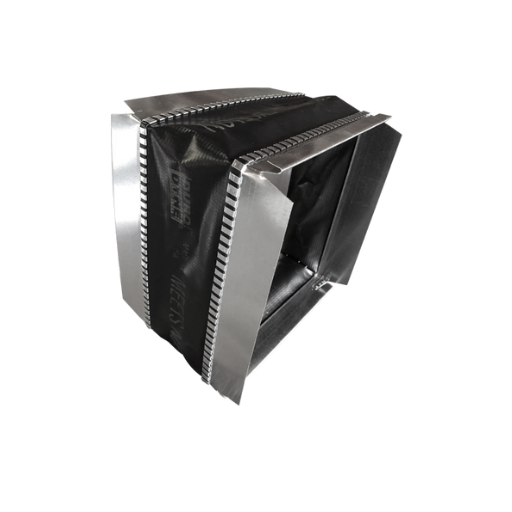
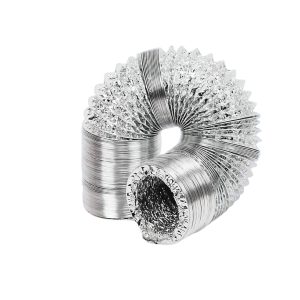
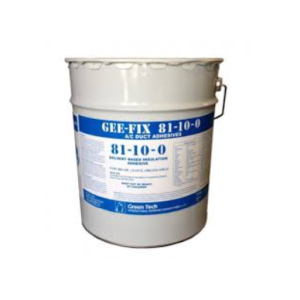
Duro Dyne is a globally recognized brand offering premium quality products for the heating, ventilation, and air conditioning (HVAC) industry. Renowned for innovation, durability, and consistent performance, Duro Dyne’s range includes essential components such as insulation fastening systems, flexible duct connectors, duct sealants, hanging and bracing accessories, and air regulation hardware.
Crafted to meet rigorous industry standards, Duro Dyne products are engineered with the needs of HVAC professionals in mind. Whether you’re installing ductwork in a small commercial building or managing a large-scale industrial project, these products ensure seamless integration, secure installations, and long-lasting performance.
Key Features:
-
✅ Wide Range of Products: From flexible duct connectors and vane rail systems to adhesive sealants and hanging accessories – everything you need in one place.
-
✅ Reliable Performance: Tested for high durability, corrosion resistance, and consistent strength under HVAC system loads.
-
✅ Time-Saving Installation: Designed for quick and secure installation, helping reduce labor time on-site.
-
✅ Industry Certified: Manufactured in compliance with UL, SMACNA, and other global industry certifications.
-
✅ Proven Brand Trust: Duro Dyne has been the preferred choice for HVAC contractors and engineers for over 60 years.
Applications:
-
Commercial & industrial HVAC ductwork installation
-
Residential duct systems
-
Ventilation system upgrades and maintenance
-
Mechanical contracting and building projects
Whether you are an HVAC contractor, system designer, or distributor, Duro Dyne products offer the quality and reliability that your projects demand. With a legacy of engineering excellence, Duro Dyne remains a benchmark for premium-quality HVAC components.


Reviews
There are no reviews yet.